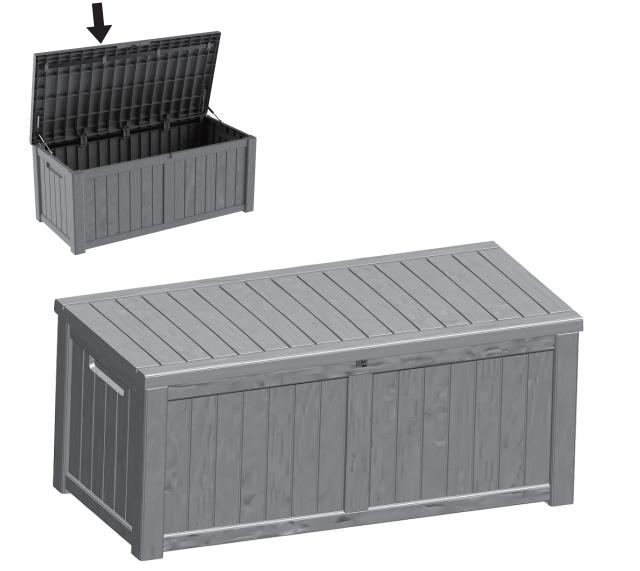
120 Gallons Water Resistant Resin Lockable Deck Box ASSEMBLY INSTRUCTIONS
Once installed, the product cannot be detached. Strictly follow each step in the installation manual.
1. Gather and organize all required parts prior to assembly.
2. Assemble on a flat, clean and soft surface.
3. Two or more people are needed for the assembly.
4. Align the holes before assembly and snap into place with a slight tap.
5. Please prepare rubber mallet in advance for convenient installation.
6. The product’s structure prevents it from being conveniently assembled in low temperatures, so do not intentionally install at low temperatures.
7. During installation, please refer to the accessories guides to ensure that they are installed in the correct directions.
|
Item no. |
Reference Image |
Qty. |
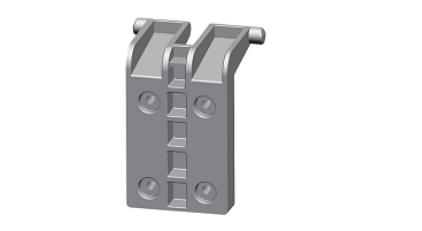
| A |
 |
2 |
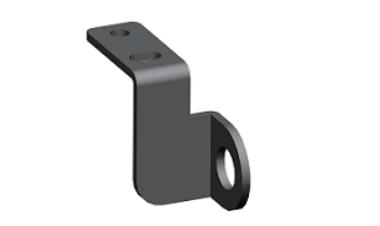
| B |
 |
1 |
| C |
 |
2 |
| D |
 |
3 |
| E |
 |
3 |
| F |
 |
1 |
| G |
 |
1 |
| H |
 |
2 |
| I |
 |
1 |
| J |
 |
39 |
| K |
 |
7 |
Step:2
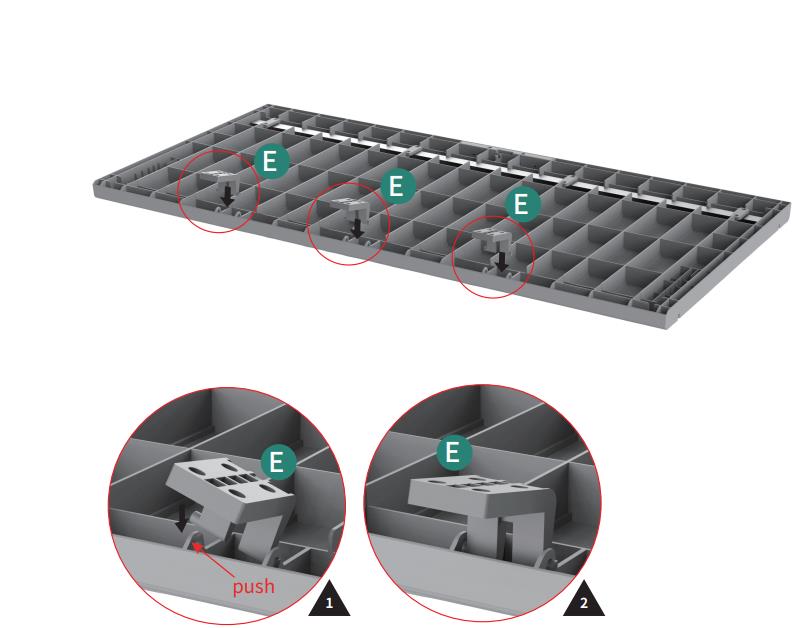
For easier installation, part E
should tilt to the one side,
then to the other.
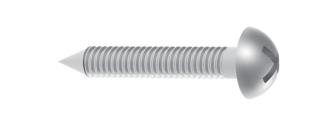
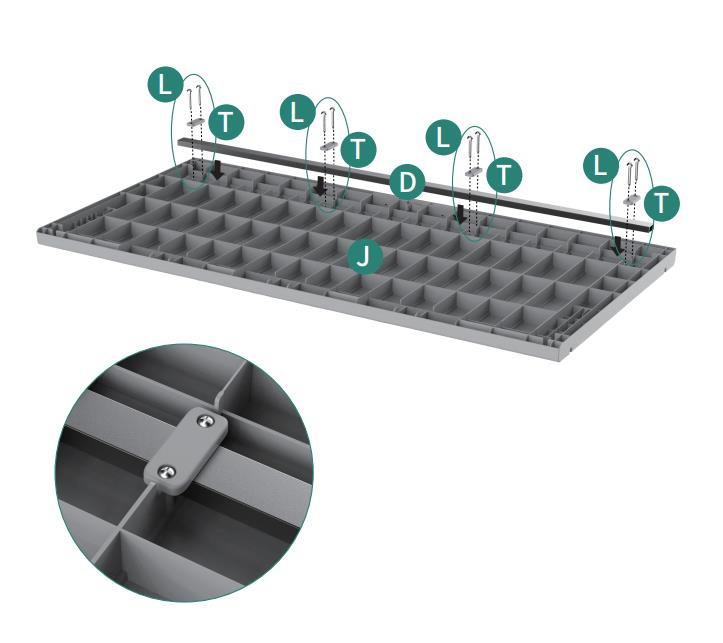
Step:3
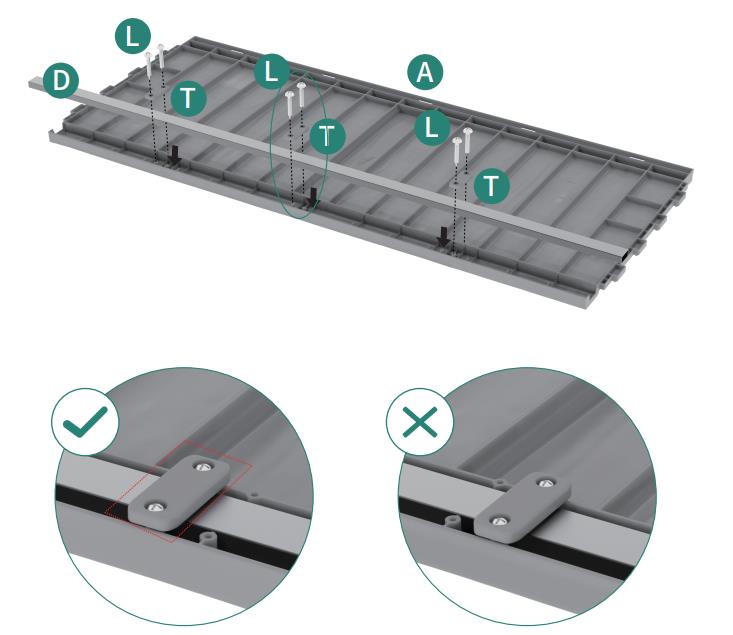
please install part T on the left
as shown in the picture
Step:4
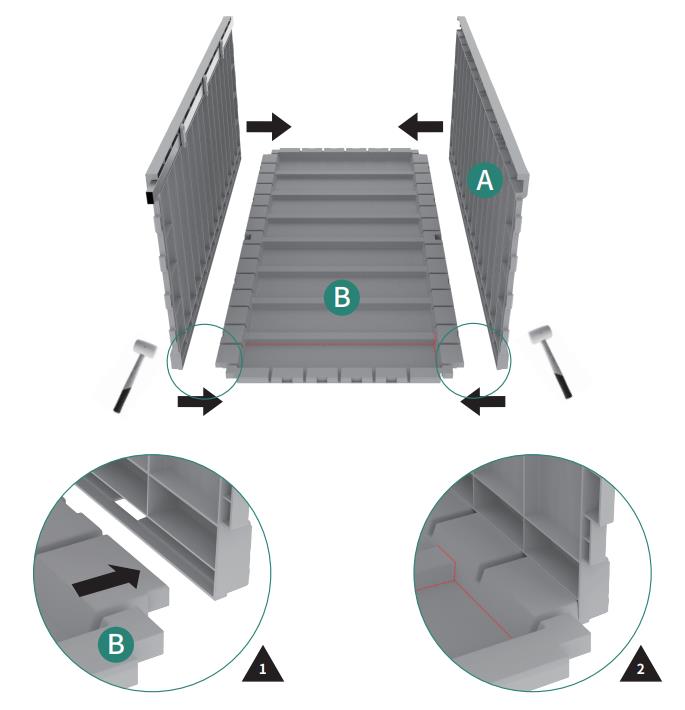
Please using rubber mallet for convenient installation.
Note the direction of part B when assembling
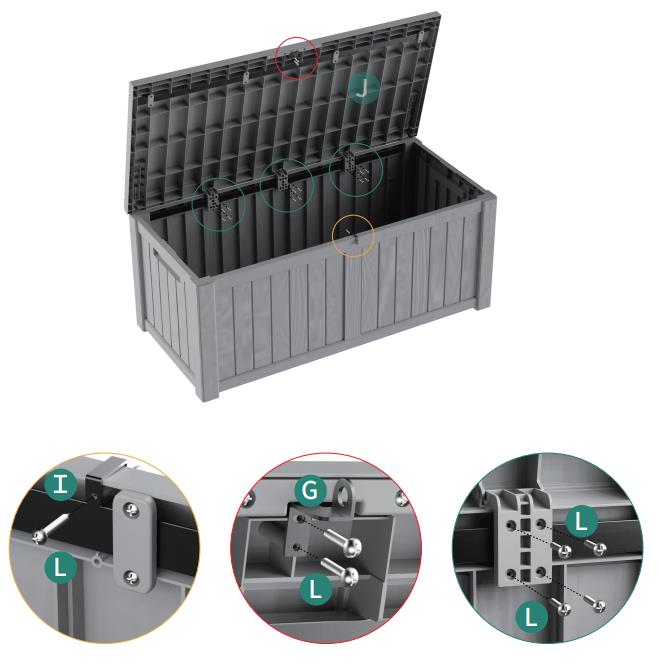
Step:5

Step:6
Step:7
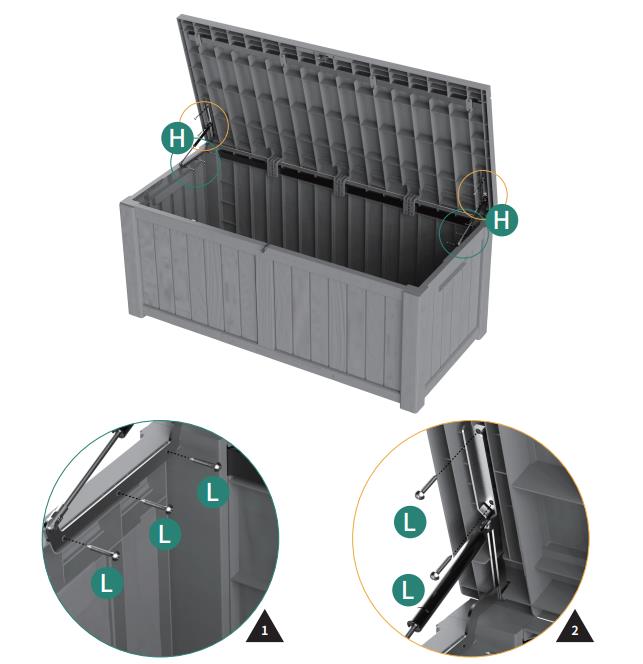
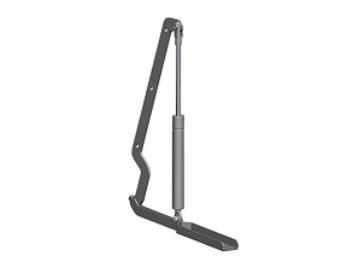
Assemble the rod to the body then to the lid
Step:8